You must have Admin rights in order to modify or add a new user account onto the system from within the Admin Web Application. Log in to the Admin console, and click on the Users tab on the top right-hand corner of the screen.

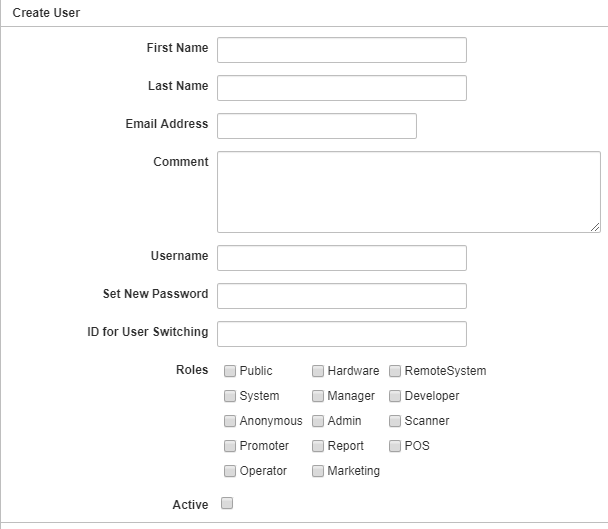
To create a new account, click on Add at the bottom of the right hand list. A “Create User” pop-up window will open and new account details can be entered. Select the appropriate roles for the account. Customers will generally only have Public access, while members of staff will have varying degrees of system access. The Manager role will give additional rights, such as the ability to give refunds. If the person needs to be able to run reports, the reporting option can be selected without having to give Admin rights (they will only have the reporting tab visible when logged in to the Admin console). Ensure the account has the active box checked if you wish the account to be live then click on OK at bottom right to exit.
To edit a record, highlight it in the list and click the Edit button. This will take you to the “Edit User” pop-up, which is identical to the Create User pop-up, aside from the name.
Note: If an account is permanently closed down and will never be used again, it can be made inactive by unchecking the Active box. This will allow previous data associated with this record to still be accessible despite the account no longer being in use.